How to improve mold replacing efficiency of aluminum alloy die casting mold

Posted on : Sep28 , 2022 By GREFEE
Comprehensive preparation prior to the installation
1. According to the scheme of production, starting the inspection and maintenance conditions of die casing molds one or two days in advance (double check the key areas) to ensure the mold and accessories are ready. There is no aluminum chips, oil dirt and dust, etc.
2. Repairing the die casting molds after shutdown and carefully checking the mold conditions after mold modifying according to the mold repairing recording list and workpiece card on mold repair workpiece card. Notifying the inspector, the die repairer and die casting production team leader to sign on the “die maintenance work card”, and fill in the “die casting die management record” for key maintenance items, and then carry out maintenance as required.
3. Inspecting whether the gate sleeve of die casting die fit with the press cylinder and punch on die casting machine to be installed (be careful when using special specification pressure cylinder under process requirements). Being prepared if the pressure cylinder and punch are not matched.
4. Cleaning of the mounting planes of fixed and moving molds, especially for the mating surface of the sprue sleeve and the pressure cylinder. Operators ought to ensure that the installation surface is clean and free of foreign matters, and the flatness meets the requirements.
5.Preparing the pressure plate, pressure plate screw, pull rod (or ejector rod) matched with the mold, and see if there is any cracks, or whether the size of the pull rod (or ejector rod) is consistent with the defects, such as bending, and prepare the tooling and oil barrel used.
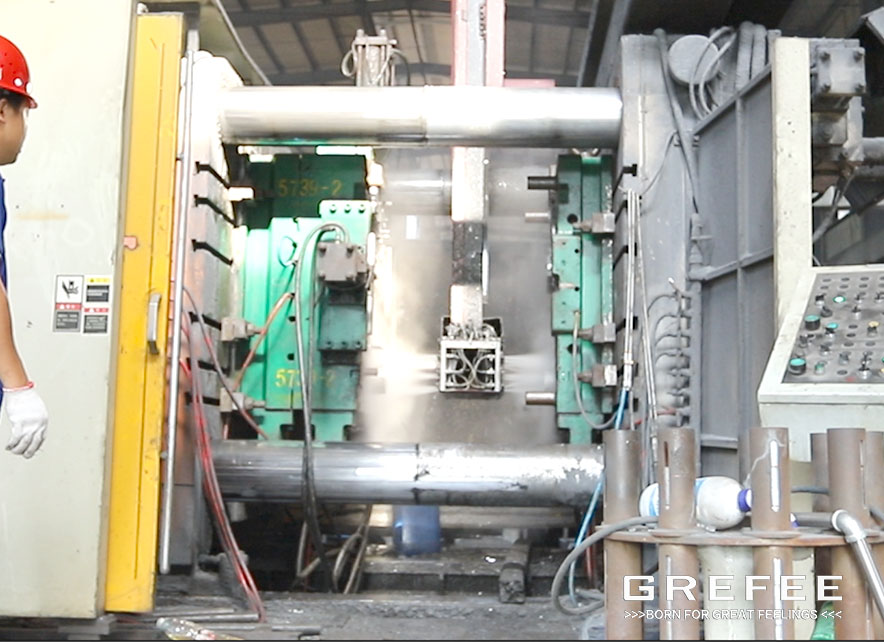
Die casting machine:
1. According to the operation procedures of the ordinary die casting machines to check whether the die casting machine is well maintained, and eliminate the motorized molds, T-slot molds and T-slots. Making sure a clean mold plate without embosses, and the parallelism of fixed and moving molds complies with the requirements.
2. Cleaning. Cleaning the pressure cylinder flange shall be free of oil, burr and sundries.
3.Cleaning the water in the die casting machines and connector of oil tubes to ensure there is no aluminum chips and dusts. Double check the switch and circuits to eliminate hazards.
Prior to the mold mounting, hanging the to be installed mold next to the die casting machine.
operation procedure of mold installation and disassembly
On the lathes, assembling the original mold according to the instructions in lathe. Literately, the assembly of fixed and moving molds should be separated for the sake of the repairing, maintenance and inspection of molds.
Mold disassembly: disassemble the power mold first
When using the drawbar
(1)Assemble the mold and lift the steel cable. Removing the pipes, oil pipes and pipes, the oil pipes must be inserted into the oil drums to prevent the oil from flowing to the ditches.
(2) Start the mold closing crankshaft wall protection window. Loosening the 8 nuts on the upper cylinder plate firstly to separate the pull rod from the upper output plate.
(3)Loosening the movable die fastening bolt or pressing plate screw and remove the mold by 150mm.
(4)Starting the lathe and leaving the model selection switch is placed at the position of adjusting the clamping force. Switch on the mold to make the mold plate of machine 300-400mm away form the movable mold. Principles of the disassemble of drawbar.
(5)After disassembling the draw bar, take it out and manually switch on the mold claiming. Once the mold clapping is ready, using the screws to fasten the movable mold and mold plate of lathe.
(6)Slowly switch on the mold and slowly opening the mold. Following the machine until the mold opening is ready.
(7)Loosen the fasten screws of movable molds, and separate the movable mold and mold plate of lathe.
(8)Take the large tool out and lift the movable mold out of the lathe.
Using the upper rod without the draw bar
(1)Clamping the mold, retracting the top plate and lifting the steel wire rope. When removing the pipes, oil pipes and pipes, the oil pipes must be inserted into the oil drums to prevent the oil from flowing to the ditches.
(2)Starting the lathes and placing the model selection switch on the adjusting clamping force gear, and the mold opening switch is gently opened to make the mold open in place.
(3)Loosening the fasten screws of movable molds or pressing plate, and moving the mold out of the mold by about 150mm to separate the movable mold and mold plate of lathe.
(4)Taking the large part out the machine and lifting the movable mold out of the machine.
Step 2: Disassemble the mold.
(1)Lifting the steel wire rope and remove the water pipe. When the oil pipe is connected with the electric wire, inserting the oil pipe into the oil barrel to prevent the oil from flowing to the trench.
(2)Loosening the fasten screws of movable mold and move it out of mold by 150mm.
(3)Move the traveling crane slightly to the side of the movable mold, lift the traveling crane up and down to move the fixed mold slightly to the pressure cylinder port, then continue to move the traveling crane to the side of the movable mold, and lift out the machine tool after it is about 100mm away from the pressure cylinder.
Assemble the mold first.
(1)Check whether the gate of the mold on cylinder is consistent with that of the emboss mold. If not, replacing the press cylinder and the press cylinder liner. The matched plane between press cylinder and die casting machines should be clean.
(2)After the mold is checked as qualified part, lifting the movable mold down to the lathe and slightly moving the traveling crane to make the gate sleeve and the pressure cylinder positively connected.
(3)Placing the screw of press plate into the mold slot of lathe and push into the mold fixing groove and fasten it.
(4)Installing the pipes, oil pipes and circuits.
Step 2: Mold postposition
When using the draw bars
(1)Check whether the pull rod position is consistent with that of the installed movable mold. If not, correct it in time.
(2)Pushing the movable mold into the lathe to make the liner of movable mold consistent with the guide pin of fixed mold and lift it flat.
(3)Bulk handling. Start the lathe and switch the type selection button on the adjusting clamping force gear, and slightly switch on the mold clamping button. Pressing the movable mold and fixed mold and lift the crane stably.
(4)Slightly switch the mold opening on to separate the mold plate of lathe and movable plate by 300-400mm and make the draw bar align with the holes of draw bar and fasten it.
(5)Clamping mold closely and put the pressing plate screws into the mold slot. Pushing it into the mold fixing slots and fastening it.
(6)Installing the pipes, oil pipes and circuits.
Using the upper rod without draw bar
(1)Check whether the position of the draw bar is correct. If not, correct in time.
(2)Pushing movable mold into the lathe to make the movable mold sleeve consistent with the fixing guide pin and lift it flat.
(3)Starting the lathe and placing the type selection switch at the mold clamping force adjusting position, and slightly starting the mold claiming and pressing the movable and fixed molds and lift the crane up.
(4)Placing the pressure plate screw into the mold slot and pushing it into the mold fixing slot and fastening it.
(5)Insert the large bracket and install the water pipes, oil pipes and electric wires.
Install the confirmation
After completing the installation, start the machine to test to see if there is any leakage from water pipes and oil pipes. Check whether the travel switch line is correct, and inform the die casting operator whether the power is on.
Safety precautions for mold technicians:
(1)Labor insurance is necessary and wear the protections. If there is any problem, please claim in time.
(2)Check whether the steel wire ropes and crone are intact.
(3)The height of the lifting mold should be limited to 30-50cm.
(4)Check whether each button of the power of the die casting machine is normal.
MORE BOLG
Insert mold in injection mold service
What are advantages and disadvantages of Zinc alloy and Aluminum alloy?
Inspection standards for injection molded partappearance
How to judge the quality of your plastic products?
Inspection standards for CNC machining
To ensure that your products are 100% qualified
Categories

Try GREFEE now,for free
We keep your uploaded files confidential and secure.